Ground Beef Recipes are an all-time favorite meal for meat lovers. Cooking time is very less when compared to cooking the normal beef. There are varieties of Ground Beef Recipes that you can try at home with ease. If you are a person who loves cooking with meat, then ground beef recipes will be an add-on to your cuisine list. You can also store the ground beef in the refrigerator for later use too. Sounds really good right? It is easy to prepare and it also tastes superb.
Quick and Easy Ground Beef recipes – Variety of Beef recipe
Here are a few Best Ground Beef Recipes that can be prepared quickly.
Ground Beef Sandwich
First we will see how to make a ground beef sandwich which is one of the best snack to prepare .
Ingredients to prepare Ground Beef Sandwich
4 slices of bread, 100 grams ground beef,1 tbsp chili powder,1/4 tbsp turmeric powder,1/4 tbsp coriander powder, curry leaves, ¼ tbsp(1 tbsp ginger garlic paste, 1 onion(chopped), 2 green chilies, salt to taste, lettuce, 1 tbsp mayonnaise and 1 tbsp tomato sauce.
How to prepare Ground Beef Sandwich
In a frying pan, heat some olive oil and add ginger garlic paste. Saute till the garlic turns light golden brown. Then add chopped onions, curry leaves, green chilies and stir again. When the onion turns slight transparent, add chilly, turmeric and coriander powder. Stir well and then add salt to taste. Add grounded beef to this mixture and combine it well. Let it cook for 7-10 min (till the beef is soft).Stir occasionally.
Toast the choice of bread you prefer with butter. Then top it up with this ground beef mixture. Add mayonnaise and tomato sauce on top. Alternatively, you can add tomato slices. Place the lettuce over the filling and cover it with another slice of bread. Use a sandwich maker if you like to have a crunchy crust. Cut them into triangle shapes and serve it with extra sauce, mayonnaise and French fried.
Read Also : Weight Loss Diet plan for Different Age & Different diet methods
Read Also : Hollandaise Sauce Secret Preparation Key
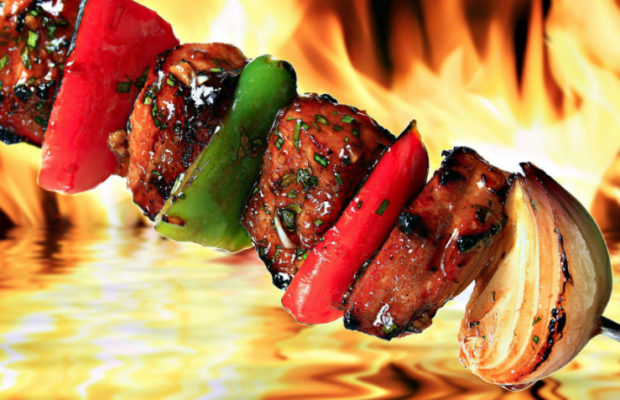
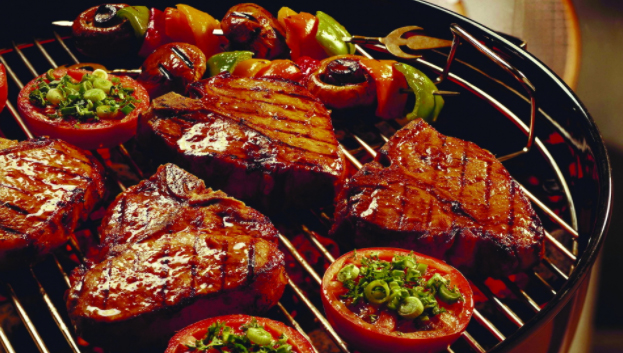
Read Also : BBQ Techniques and styles – Barbecue Variants
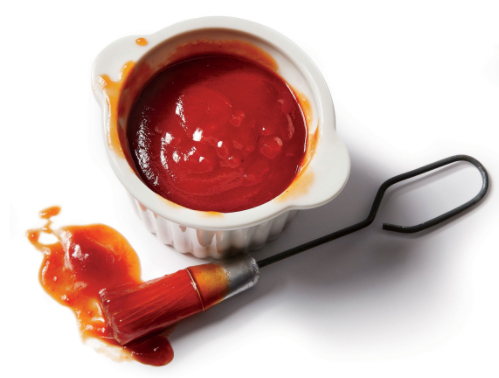
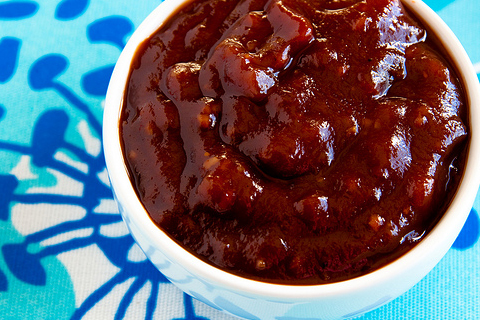
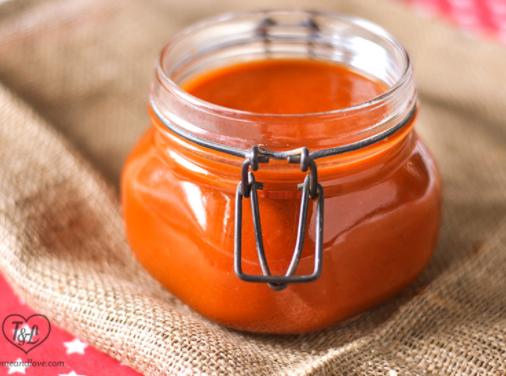
Read Also : Best BBQ Sauces and Rubs to Taste
Ground beef burger
Burger can be made healthy at home . You can follow this steps to make burger at home quickly and easily.
Ingredients to prepare Ground Beef Burger
2 burger buns (choose your favourite), 100 grams ground beef, 1/2 tbsp chili powder, ¼ tbsp turmeric powder, salt to taste,1/2 tbsp all-purpose flour, 1 large egg, 1/2 cup bread crumbs, 2 green chilies, olive oil,1/2 tbsp ginger garlic paste, cheese spread or slices, 2 tbsp mayonnaise and 2 tbsp tomato sauce.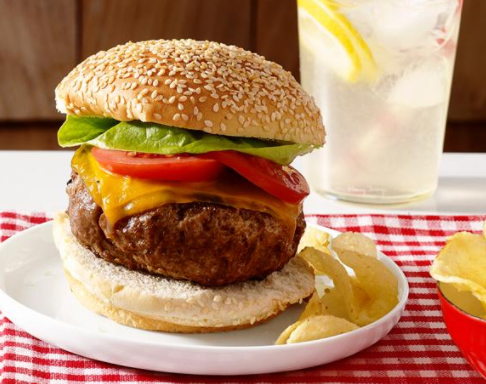
How to prepare Ground Beef Burger
Take a bowl and mix the ground beef, ground pepper, turmeric powder, salt, all-purpose flour, 2 tbsp whisked egg, green chilies, and ginger garlic paste. Using your hand or a spatula mix all these ingredients well and keep it aside.
Heat a frying pan and pour oil. Now make beef balls and press it to form a round shape. Place this in the frying pan and leave it to cook. Flip them and cook both sides. Take the bun and cut into two halves. Place the cooked beef cutlet on the bun and top it with fresh lettuce, mayonnaise, tomato sauce and cheese slice.
Ground Beef Dish
Ingredients to prepare Ground Beef Dish
100 gms of ground beef, 4-5 tbsp olive oil, ½ cup fresh peas.1 large onion, 4 cloves garlic, a small piece of ginger,½ tbsp chili powder(or ground pepper), ¼ tbsp coriander powder, ¼ tbsp turmeric powder, salt and pepper to taste.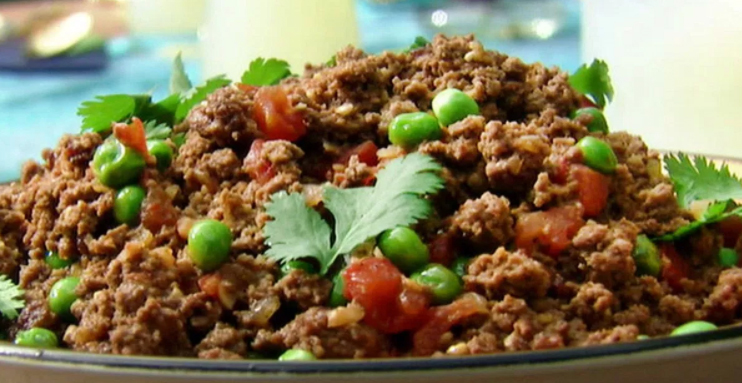
How to prepare Ground Beef Dish
In a frying pan heat some olive oil; add chopped ginger garlic and onions to it and saute well. When the onions change its colour to light golden brown add the masala powders and mix them well. Let the beef cook nicely. Add salt and a little hot water to it if there is a need. When the beef is the cooked, add fresh peas. Stir well. Let this beef dish cook for about another 10 min. Add more oil if required.. Serve it with a bowl of rice.
Ground Beef Roll
Now let’s see the Ground Beef recipes that is easy to prepare .
Ingredients to prepare Ground Beef Roll
100 grams of ground beef, kuboos or roti of your choice, ½ tbsp chili powder, ¼ tbsp coriander powder, ½ tsp turmeric powder, ½ cup lettuce and spring onion(chopped), 1 large onion(chopped), salt and pepper to taste. 1 tbsp mayonnaise,½ tbsp tomato sauce, and olive or coconut oil.
How to prepare Ground Beef Roll
Heat a wok and add oil to it. Then add ginger, garlic and saute them. When the garlic turns into light golden colour, add the chopped onions and stir. The onions will become slightly brown while stirring, and then add the masala powders, salt, and pepper. Add a little water if required to cook the meat. Remove the pan from the stove when the beef is cooked and add mayonnaise and tomato sauce.
Finally, add the lettuce and spring onion and combine them and wrap this delicious filling in roti or khuboos. This is a very simple ground beef recipe that can be prepared in no time. Ground beef Roll is a perfect snack for kids to carry to school.
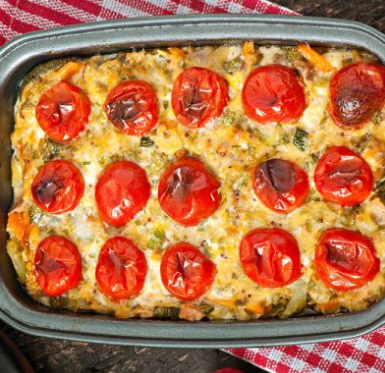
Ground Beef Casserole with Noodles
We have seen Chicken casserole previously now let’s see Beef Casserole recipes as well .
Ingredients to prepare Ground Beef Casserole with Noodles
1/2 kg ground beef, 1 green capsicum(chopped), salt to taste, 3 large tomatoes, 1 pack of noodles(around 230 grams), olive oil, 1 cup cheddar cheese(shredded) and 1 cup of white sauce of your choice.
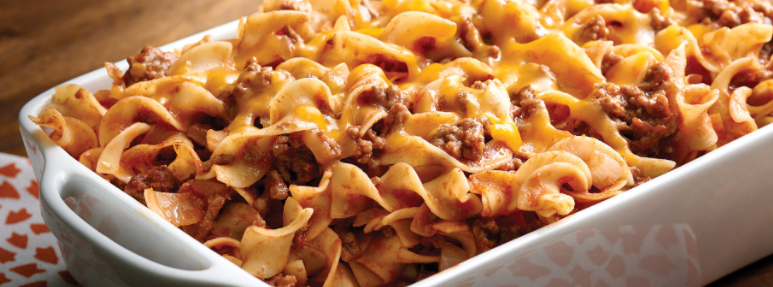
How to prepare Ground Beef Casserole with Noodles
In a frying pan or a wok, heat some olive oil, add onions, capsicum, ground beef and salt to it and stir fry. Once the onions are cooked, add chopped tomatoes and white sauce. Mix it well and sprinkle ½ cup cheddar cheese to it. Keep this aside and cook the noodles. Drain it and add the noodles to the beef mixture on a buttered baking tray and put the balance ½ cup cheese on top. Bake this Ground Beef Casserole for 30min at 350 degree F and you can serve it to 6-8 persons.
Beef Casserole with Polenta / Couscous
Another variety of Beef Casserole is made with Couscous and Beef .
Ingredients to prepare Beef Casserole with Polenta / Couscous
1 cup plain cornmeal, 1 tsp salt, 1 cup shredded cheddar cheese, 1 cup onion(chopped), 1 zucchini (sliced), olive oil, 3 large tomatoes, 1/2 cup tomato puree, 2 tbsp chopped parsley and ½ kg ground beef.
How to prepare Beef Casserole with Polenta / Couscous
Preheat your oven to 350 degrees F. Boil 3 cups of water with 1 tsp salt in a saucepan. Add the cornmeal to it and keep whisking. Do not forget to reduce the flame while whisking. The cornmeal will be cooked in about 3 min and you can keep it aside. Add ¼ cup of cheddar cheese to this mixture and spread this onto a buttered baking tray.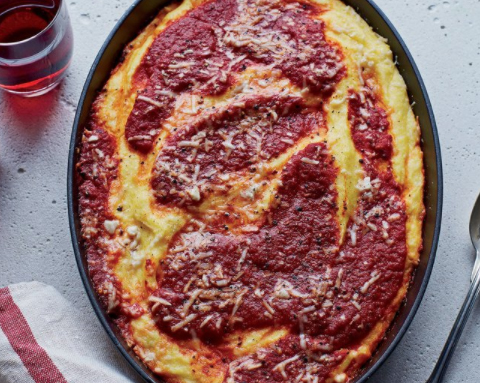
Heat a non-stick pan and add olive oil to it. Now, brown the ground meat over medium heat and stir often. Transfer the meat to a bowl. Saute the onion and zucchini in olive oil for about 5min and stir in the partly cooked ground beef, tomato purée and diced tomatoes. Simmer the flame and let it cook for 10 min.
The next step is to pour the ground beef mixture over the polenta/cornmeal crust that is spread on a baking tray. Sprinkle the balance ¾ cup of cheddar cheese and bake it in the preheated oven for 30min.
Serve it hot by sprinkling the fresh parsley on top.
Ground Beef Balls
Here is the recipe to prepare Ground Beef Balls .
Ingredients to prepare Ground Beef Balls
100 grams grounded beef, 1 egg, ½ tbsp all-purpose flour, ½ tbsp chilli powder or ground pepper, ¼ tbsp turmeric, coconut oil, ½ tbsp ginger garlic paste, 1 cup bread crumbs and salt to taste.
How to prepare Ground Beef Balls
Take a bowl, add the grounded beef, 1/2 egg (whisked), salt, turmeric, chilly powder, ginger garlic paste and mix them all together. Add a little water if required. Now make small balls of this beef mixture and dip in whisked egg and then bread crumbs and fry it in heated oil. Serve it hot with tomato sauce and mayonnaise.
All are going to love these simple ground beef recipes, especially your kids. Try out these Ground Beef Dinner Ideas and bring more fun and joy at your dinner table. Hope to bring to you more simple recipes to make your busy lifestyle easy. Enjoy Cooking!!!!!!!!!!