Time Lapse photography is the latest trend to hit all the photographers especially the nature lovers. You get to view a lots of natural phenomenon in quite an interesting way. So you must have come across time lapse video on any social media platforms, because these are a rage nowadays and they rightly deserve so.
What is Time Lapse Video ?
Time lapse videos are long videos whose speed is increased so that the slow changes can be viewed and observed better. Time lapse videos are created for those processes which are very slow and humans often lack the patience to view such processes completely such as sunset, blooming flowers, growing plants or any other thing like that.
Time lapse videos can be made in two ways, either video is recorded continuously and then its speed is increased or photos are clicked after fixed intervals and merged later to form a video. Some slow phenomenon such as sunsets, blooming flowers and many more look stunning and interesting when viewed in time lapse videos.
Here I have tried to breakdown the process of making a time lapse video and list down all the requirements. So let us begin with this :
Understanding the Basics of Time Lapse Video Making
Before actually beginning with the making of the time lapse video you need to understand what time lapse actually is?
It is any normal video of longer interval which is played at high speed so as to give an effect to the user that time is moving fast or join a large number of pictures together to form a video. Time lapse videos are generally of short interval.
How to make Time Lapse Video ?
You
got a picture about what is time lapse videography . Now to create a time-lapse
video or to begin with the process. You must choose “Subject of Time lapse
Video”
So there are a number of phenomenons which are quite boring and slow to be observed with your eyes but when speed up in time lapse videos look stunning and beautiful. Here are few such listed out –
- Sunset or
sunrise
- Blooming flowers
- Under
construction buildings
- Movement of
Clouds
- Rotting fruits
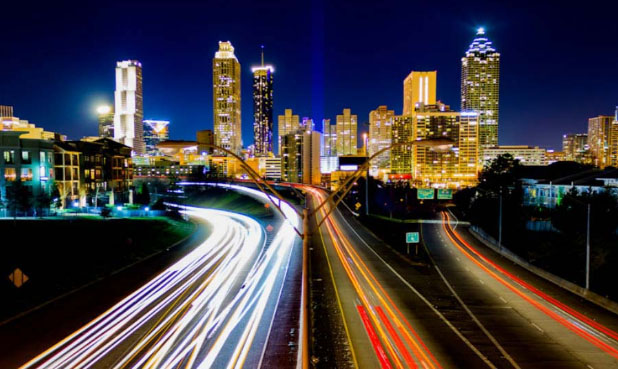
- Busy street or
highway
- Growing of plant
All
these things can result in some beautiful, fun and cool time lapse videos.
Then based on the subject you choose you have to decide which type of time lapse video you want to choose whether Smooth or Blocky. But lets get familiarized to these terms first.
Smooth Time Lapse Video :
This means that either the video has been shot continuously or the separate shots are taken at shorter time intervals. Smooth time lapse videos are generally preferred for things like sunset, sunrise, movement of clouds or busy street or anything like that which last for few hours or a day not more than that.
Blocky Time Lapse video :
In this type of time lapse videos the separate photographs are taken after longer intervals thus when merged together kind of form a blocky video. This type of time lapse videos is preferred for shooting events which take much more time to take place such as blossoming of flower, construction of building, rotting of fruit and many more.
Now
since you have decided the subject for your video and based on that the type in
which you want to shoot your video you need the right equipment to shoot it.
Equipment required for Creating Time Lapse Video :
Everything needs its own equipment to get that perfection and professional outcome . So if you want to take a professional time lapse video then this will be complex and tiresome. So let us take a look at the equipment needed for time lapse videography .
There are majorly three options for you :
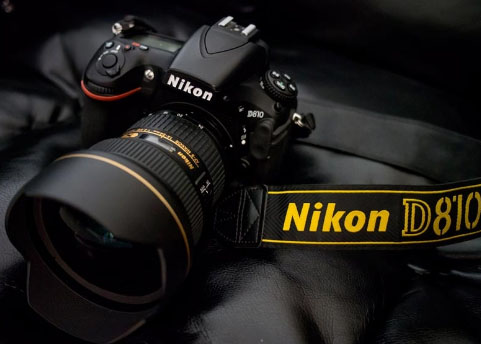
- If you own a DSLR then it is definitely the best option since it will let you shoot the video in the best quality and highest resolution.
- The next best option is the Point and shoot cameras. These are compact and pocket sized cameras. These have lesser features as compared to DSLR but still provides you with high quality videos.
- Even high resolution camera Smartphones are good enough to make time lapse video and time-lapse Photography .
Now you can choose which camera to be use for creating time lapse . Once you have decided with what device you are going to shoot your video, whatever it may be you will definitely need a tripod stand. It is important because it helps you in shooting a stable video not a shaky one. It keeps the frame fixed, because if the frame will vary then the resulting time lapse video won’t be shaky and will also save you a lot of effort. It ensures consistency to the video or the pictures.
Since
point and shoot camera is smaller in size you can also go for a gorillapod
which also helps balancing your camera on uneven surfaces.
The next equipment you will need is some kind of device which can instruct your shooting device to click pictures at fixed intervals since you may not be able to stay all the time with your camera. This problem is shot by Intervalometers for DSLR cameras and Time controller device in point shoot camera. But first you must check your camera’s manual since it may already have an inbuilt such time controlling device. Both intervalometers and time controller device acquire the control of your camera’s shutter and then you can set the interval after which you want to click the picture.
Also instead of buying an additional device you can also have a number of software which also serve the same purpose but you will need to attach your laptop for all time to your camera via a USB cable. You can choose suits whatever suits you well. So I have also compiled some of the best software which are going to help you a lot while shooting a time lapse video.
For Nikon DSLR camera users :
- Sofortbildapp (Mac) – Compatible with most of the latest Nikon camera models.
- D-Software Cam Control(Win) – It can be used for controlling your camera’s Shutter speed, exposure, ISO and Aperture
- Nikon Capture 4.0(Win and Mac) – It is an amazing and powerful image editing tool. You can control nearly all the features of your camera and also lets you save your pictures directly to the PC. And definitely provides the features for the post editing of the pictures.
For Canon DSLR camera users :
- DSLR Remote Pro(Win and Mac) – It is among the best software to control your canon camera from your Windows PC.
- inPhoto Capture(Win) – This software is quite easy to learn and use. It lets you control some of the latest models from your PC. It also lets you control your Olympus camera.
Apps for shooting Time lapse using iPhone :
Now will look at the best time lapse video apps for iPhone –
- iTimeLapse : It is an all in one app which provides you with the features for every aspect of video making starting from clicking pictures and after editing. It lets you control white balance, iso speed, focus everything. Then once done you can edit all the frames and add audio, background effects and much more editing can be done. But the only problem is that its major features are available in the purchased version.
Read Also : Cinemagraph app that makes pictures move ( iOS & Android)
- Gorillacam : This app also provides you with a number of features but lesser as compared to iTimeLapse but it is available for free. For beginners it is a good way to start.
Time Lapse Apps for Android :
Let us look into this in detail later now here listing out few apps for android time lapse video making –
- FrameLapse
- TimeLapse
- Hyperlapse by Microsoft
- Lapse It
- TimeLapse Camera
Read Also : Best Triple Camera Phones to Buy This Year
Editing Time Lapse Video :
Once you are done with all the video recording or clicking pictures now is the time to edit time lapse video . There are two most popular timelapse editing software used for editing :
Photoshop :
None of us is unfamiliar with the power of Photoshop. Here also it provides you with a lot of ease. First open a picture and apply all the editing affects you want to on it. Once done create a new action by selecting Action from Windows.
Redo all the affects to record the action. Apply this action then all of the left pictures in the batch. For doing so select Automate from Windows and there click on Batch.
Read Also : Exciting free Photoshop Alternatives for high quality photo edits
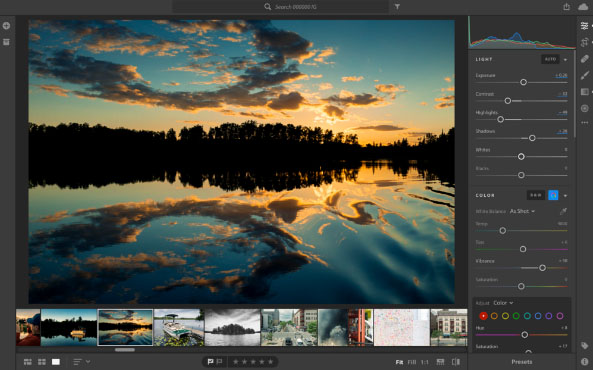
Lightroom :
This is another software famous for post editing your pictures. Here also in Develop mode apply all the effects on a single picture. Then select pictures from the batch and click on Sync button. Same effects will be applied to those as well.
Combining Time Lapse Photos :
In the process of how to make time lapse video , the very last thing one have to do soon after editing is to combine all those edited pictures into a movie . So as your time lapse video gets ready . You need some of the apps for the purpose , here we go with it –
- Apple Quicktime Pro7(Win and Mac) : Just open the folder which contains all the picture and select the first picture. And then it will automatically combine all the photos.
- Time Lapse Assembler(Mac): This is another software which lets you merge your pictures but is available only for Mac. It is the best free time lapse video maker.
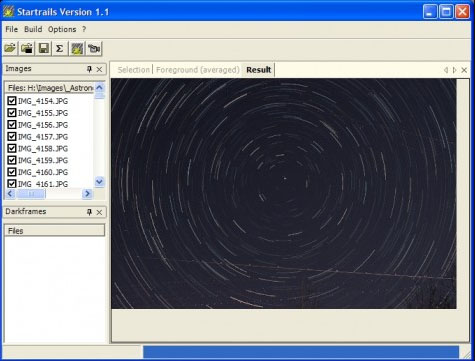
- Startrails.de: It is specially designed for creating star trail photographs but can be easily used for making other time lapse videos.
- LR-Timelapse: It is another amazing software and is available as a plugin in Lightroom. It provides you with features of both startrail.de and time lapse assembler. In free version you may combine up to 400 images.
Once
done with all this you are going to have some awesome and stunning time lapse
videos. Also for beginners you may take some test shots before actually
shooting the video. Also keep extra batteries and memory cards handy and always
keep an eye on your camera. Do share your experience with us.